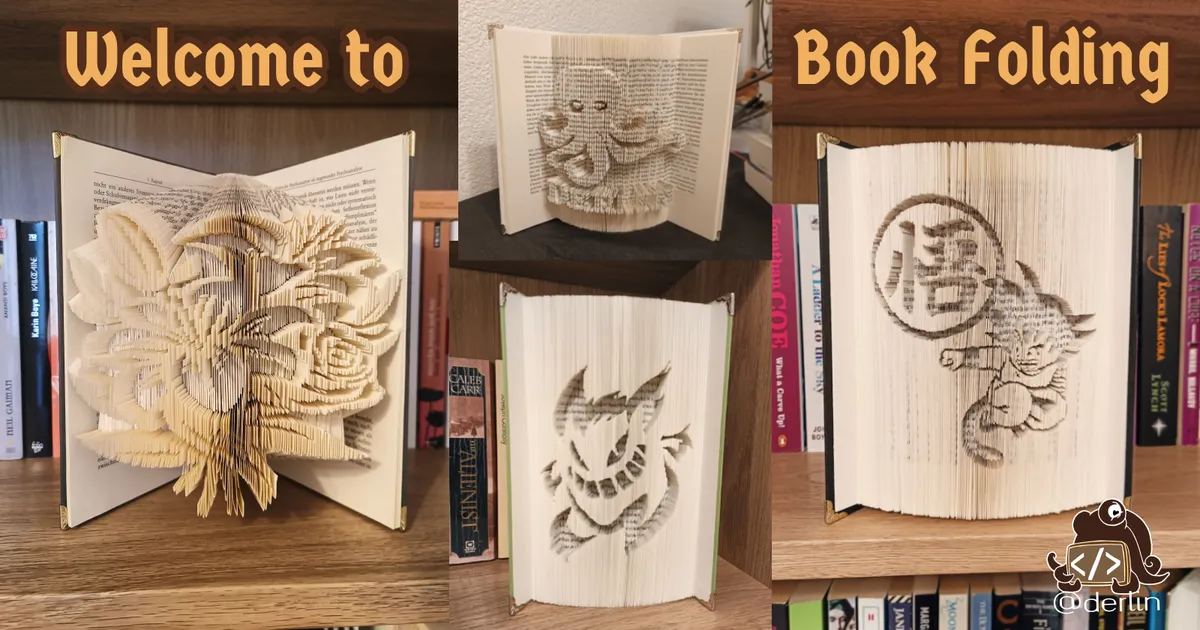
I’ve spent a lot of time on miniature book replicas and other paper crafts lately, and I wanted a new project. Back in December, I started playing around with book folding, which involves folding and cutting the pages of a hardback book to create works of art.
After trying out multiple techniques, I developed a straightforward process of my own (and an online tool!) that I am excited to share. But before I jump into a full tutorial, I would like to explain how I came to book folding and what exactly it entails. Consider this article a “preparation step”.
(note: all the bookfolds in the cover images are mine 😊).
If you want to skip the history and jump straight into a tutorial, check out my other article:
Book folding with line templates: a complete guide
How I started book folding
I stumbled upon book folding pictures while browsing the internet in search of new ways to craft around books. It looked amazing, and doable with my skill set! I instantly started looking for tutorials.
All in the folds - too much of a hassle
The first resource I found was allinthefolds: https://www.allinthefolds.co.uk/free-patterns/.
This website offers free patterns along with step-by-step instructions perfect for beginners. However, their approach, called MMF (Measure, Mark, and Fold), is quite a hassle: they provide a table mapping each page to specific measures that you need to mark on the page, then fold. It requires discipline and doesn’t look like much fun. So much so I didn’t even try.
As an example, here is the pattern for a simple heart:
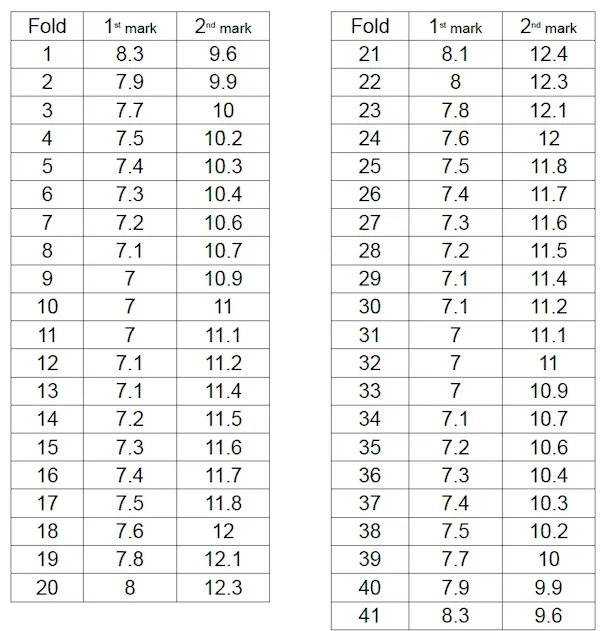
Source: https://www.allinthefolds.co.uk/beginner/freeheart/
The perfect starter pack for beginners - Heather Eddy Art
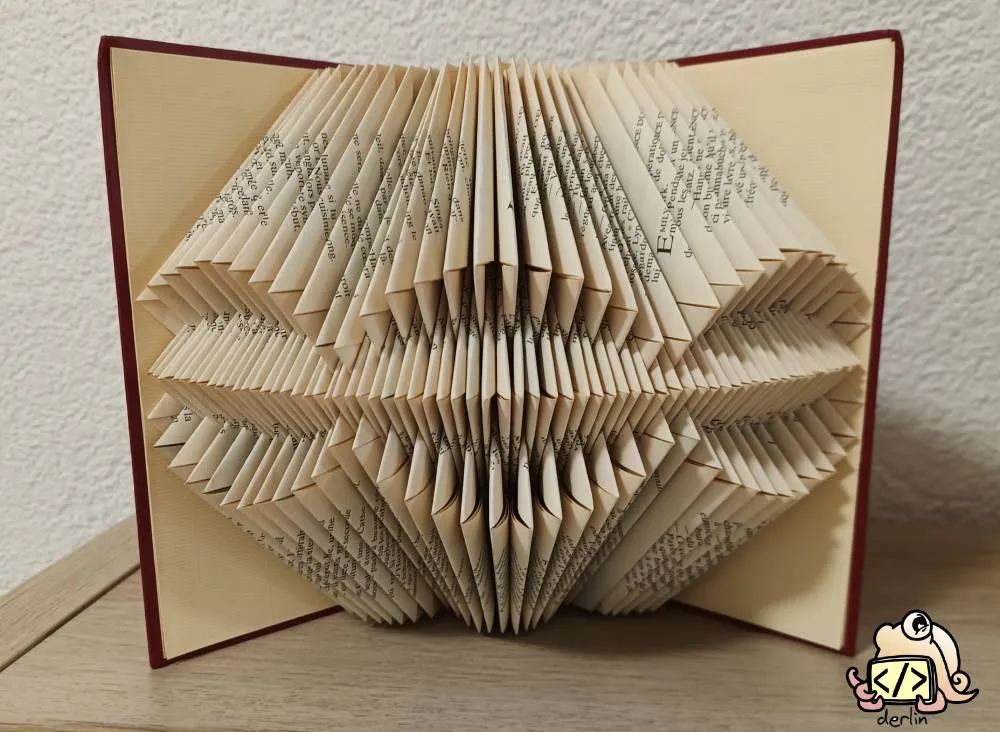
Fast-forward a few days, and I finally found my perfect starter pack: www.heathereddyart.com. Heather has a unique technique to create geometric patterns, which is perfect for beginners. She also shares a free PDF with instructions and examples. Here is an example pattern from Heather:

And here is my result after following her instructions (my first bookfold ever!):
The holy grail - scrappystickyinkymess and the line templates
The geometric shapes looked great, but they weren’t at the level of the art I saw online. I wanted complex visuals and text, but I refused to compromise on the fun. No measurements page by page (MMF), please.
The blog “useless beauty?” came to my rescue. This “American living in the UK” uses a simple “line templates” technique that yields complex and beautiful results with just a lined sheet of paper. No rulers involved! Assuming you have the line template, and past the initial computations to determine the number of pages involved and where to start, the rest of the process is virtually effortless.
To understand, the best is to look at his (her?) free templates. For example, take the read template (downloadable here):
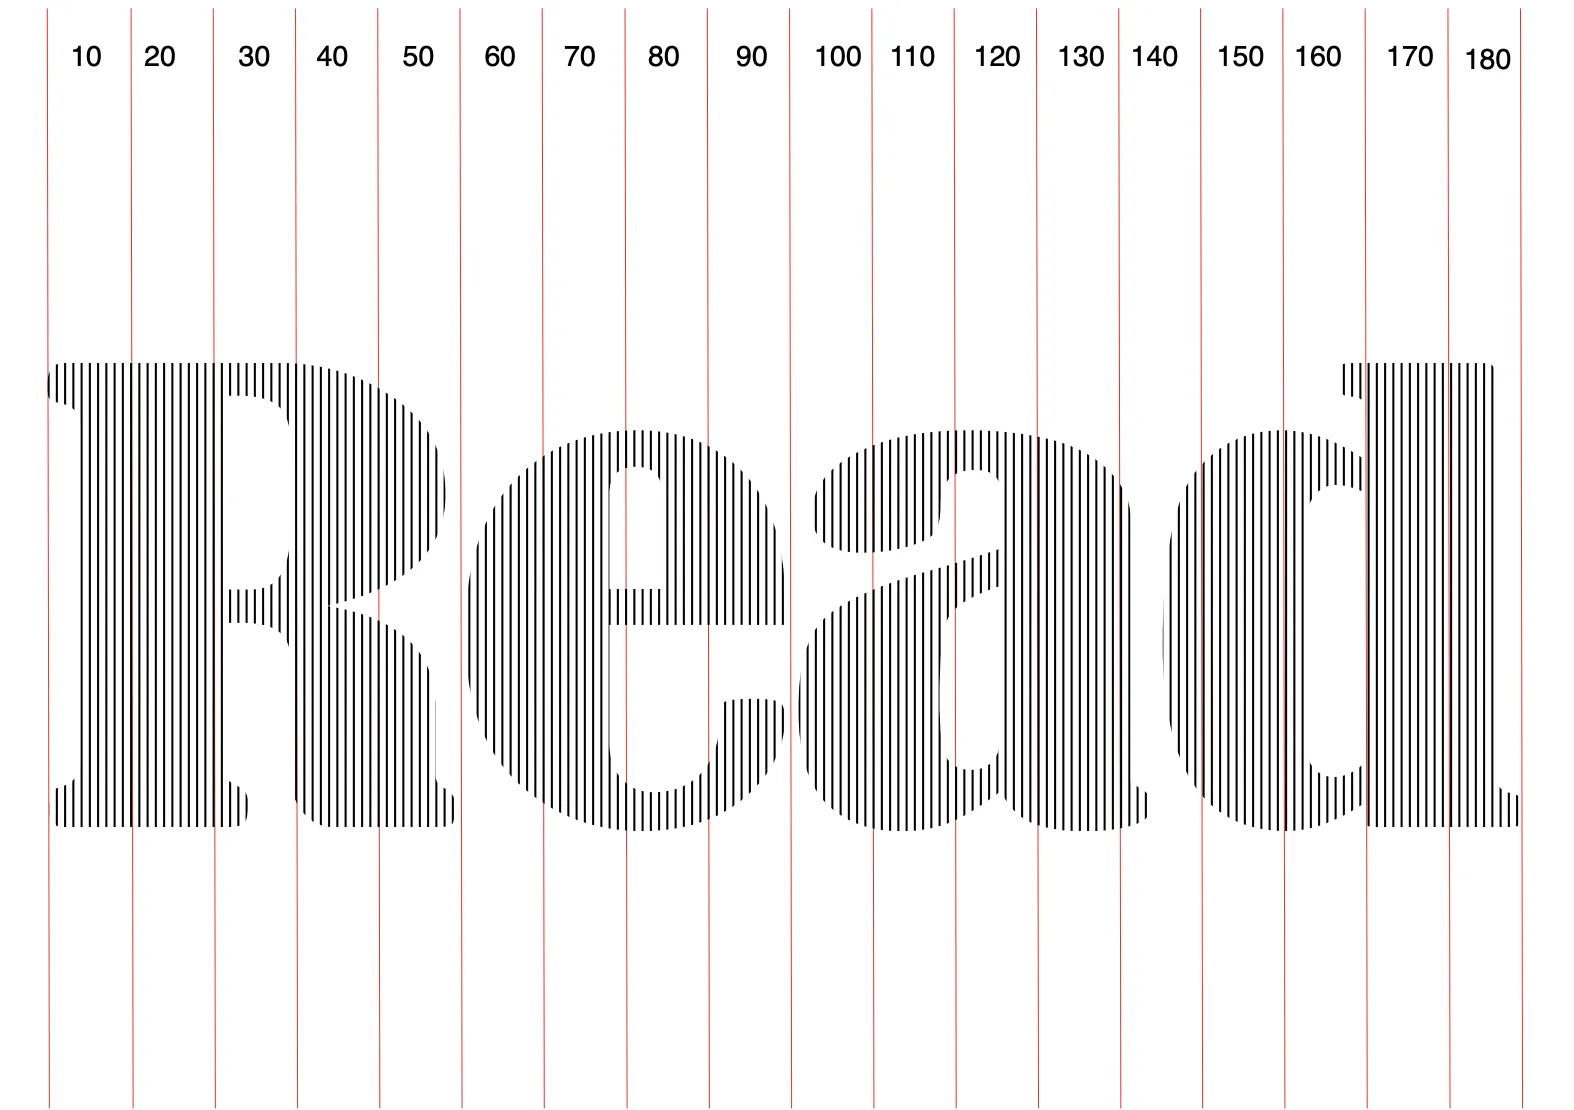
Once you have printed the template, go page by page, always aligning the top of the book page with the top of the pattern. Mark the start and end of the black segment (important: one segment equals one page!), and then fold. Following these instructions, I created my second bookfold:
Moving to more complex designs
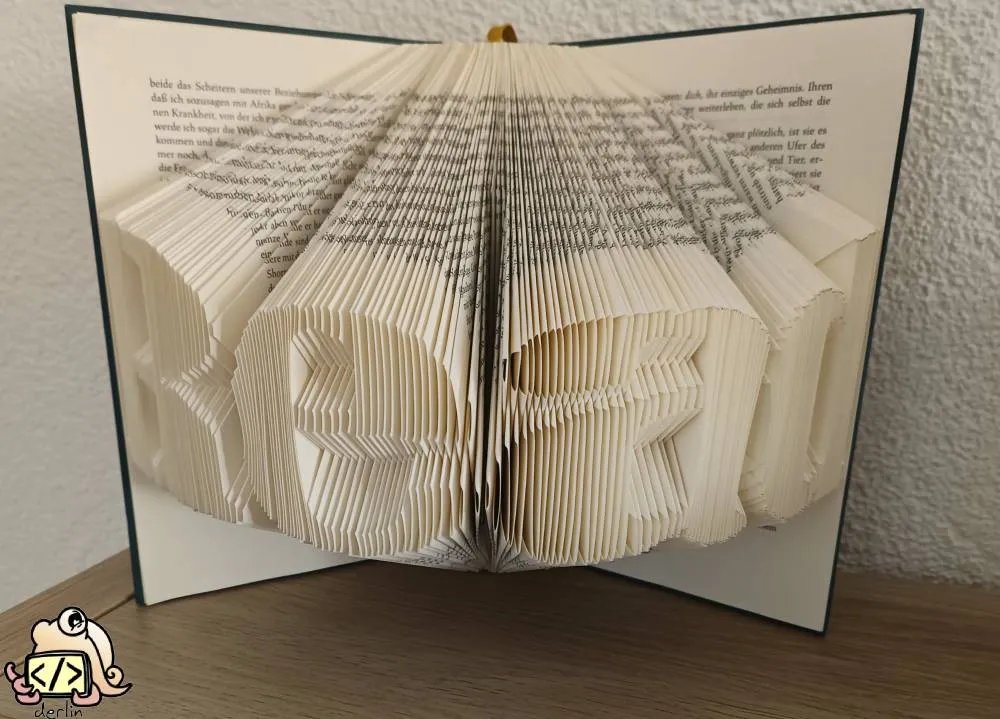
I had found my process! Now, I just needed a simple way to create line templates from any images. Being a software engineer, I created my own tool, bookfold.derlin.ch, which I present in my tutorial article, Book folding with line templates: a complete guide. But first, let me give you a taste of what book folding (with line templates) can do.
(For the curious, here are some of my other bookfolds).
Diving into the possibilities of book folding
So far, what I have shown have been strictly limited to folding pages. My “read” pattern above uses one page per black segment, even when multiple segments appear on the same vertical line. This requires a lot of pages and creates a bulky, heavy look.
However, book folding is a generic term that covers various techniques and can also involve cutting (“Cut & Fold”). I am still exploring the many possibilities and terminologies, which differ widely depending on the source, but let’s review the most common ones.
For an alternative overview of the Cut & Fold techniques, see https://www.cutandfoldbookart.com/cut-and-fold-method-instructions/
Fold Only
This is the traditional method.
This bookfold corresponds to my first tries that I described above. The design is created entirely with folds, no cutting involved. In the community, this is often what people mean when they talk about MMF (Measure - Mark - Fold), although I personally use it more specifically for a type of pattern.
Cut & Fold
As the name suggests, Cut & Fold involves scissors. Depending on the variant, it may also involve folding, often as a preparatory step (such as insets or the 180-degree fold, keep reading!). The cuts allow for much more intricate designs using fewer pages and are the most common types of book fold you will encounter online.
Inverted and Embossed (or “Innie” and “Outie”)
When using Cut & Fold, the primary question is which part to fold: the design itself or the background. This is known as “inverted” vs “embossed”, or, more colloquially, “innie” vs “outie”:
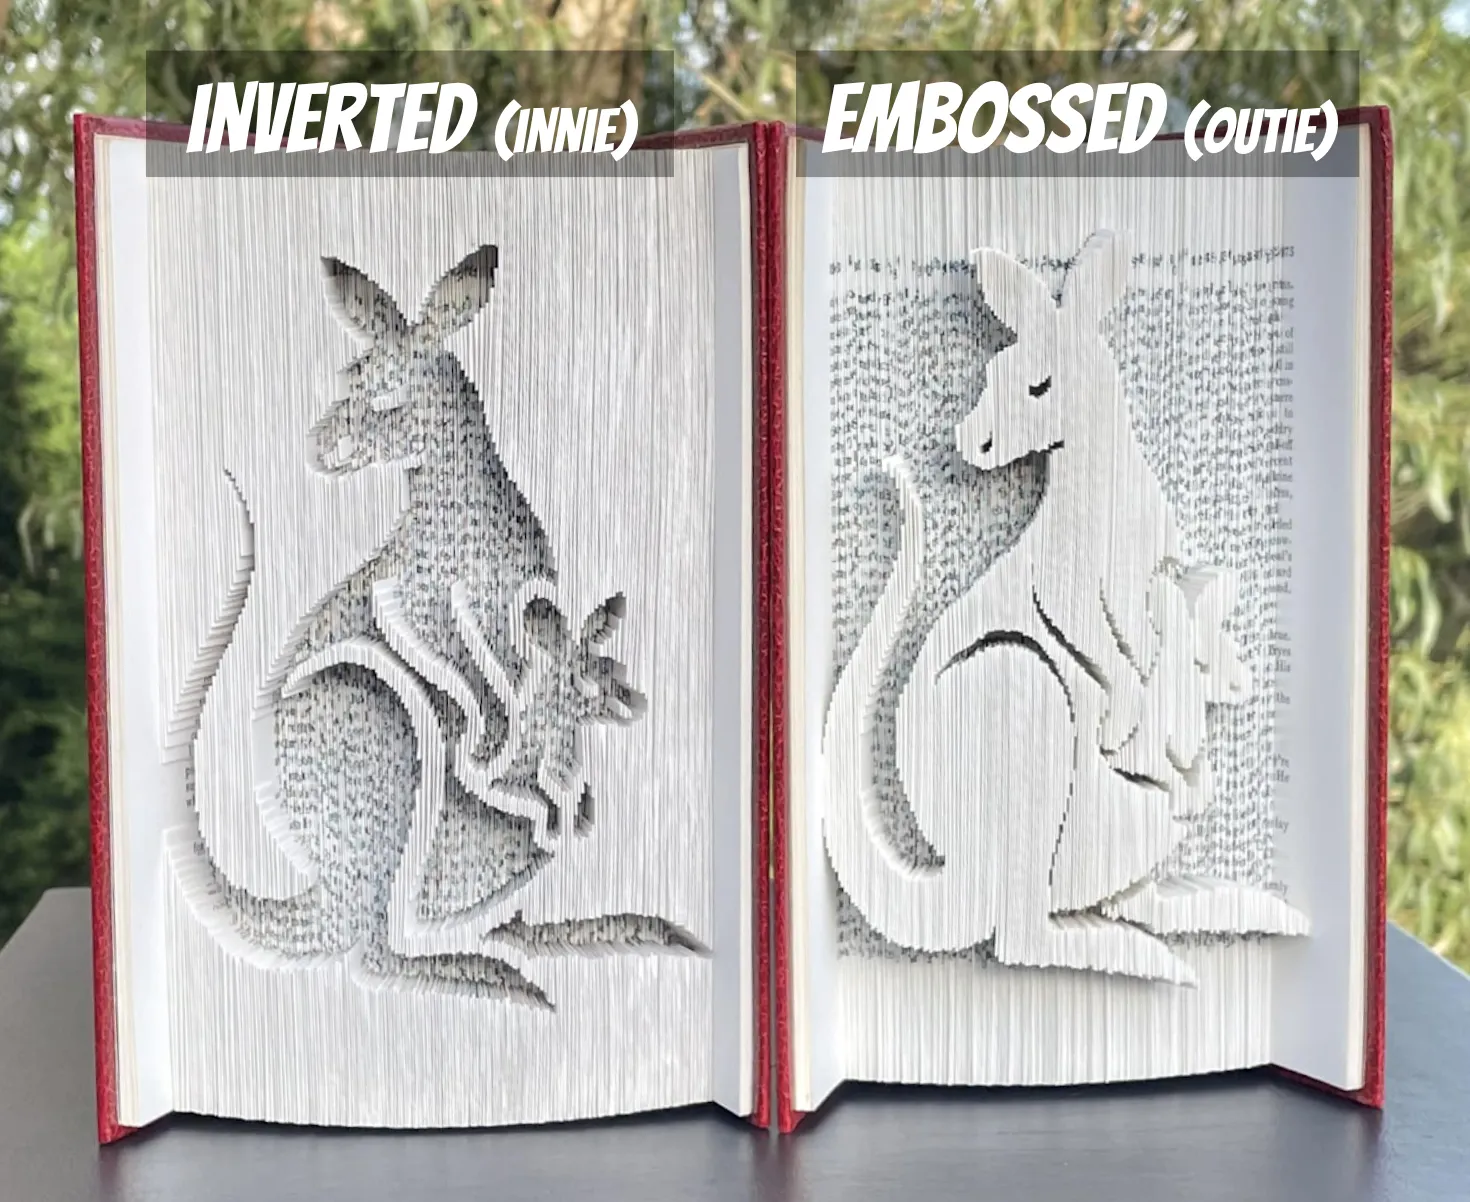
(image sources: facebook)
Shadow and Partial Fold (with inset pages)
Another variant is the “shadow fold” (sometimes called a “partial fold”). In this case, you only fold every other page (one page every X), thus making the result softer (less crisp), more “shadowy”, and the design fuller.
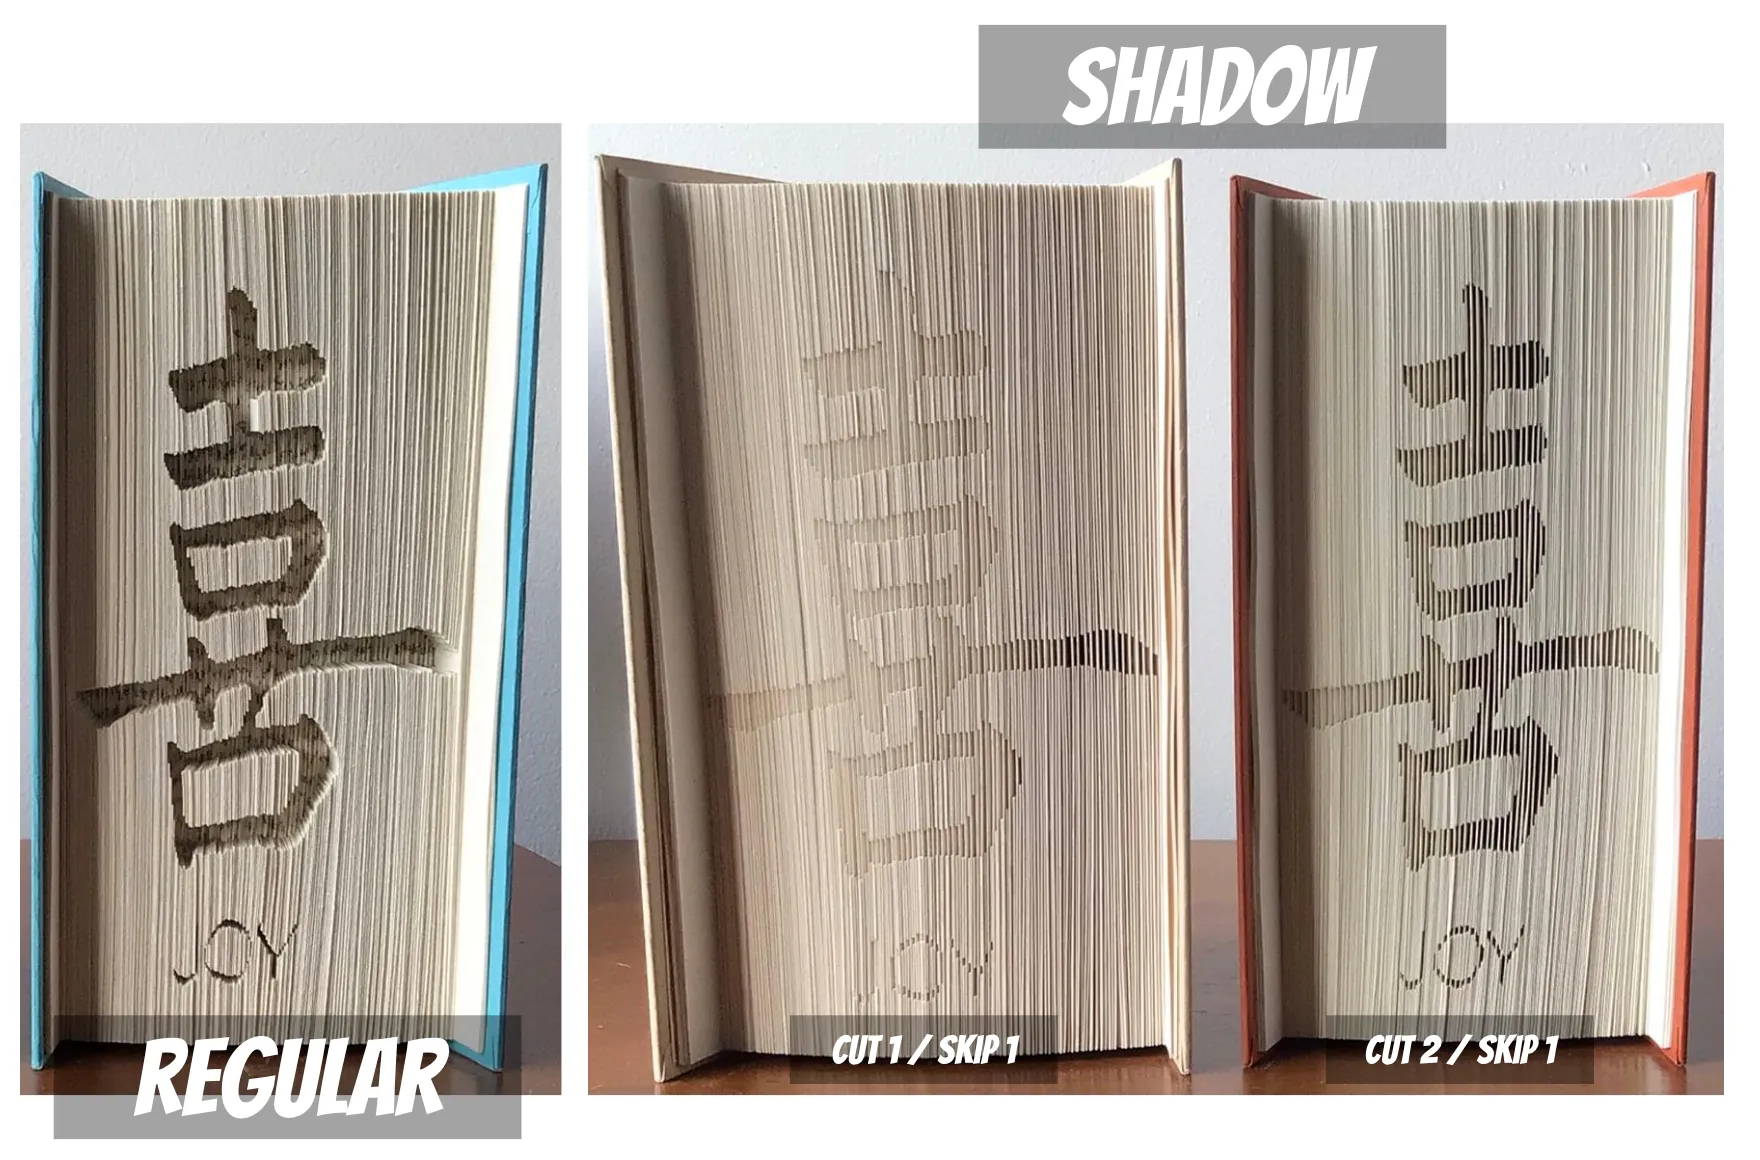
(image sources: facebook)
The unused pages in between the folded parts of the design are called inset pages. In a typical shadow fold, these inset pages are left untouched (unfolded).
A variant consists of folding the inset pages at around 1-3 cm (like in the 180-fold), which makes the design crisper while maintaining bulk and stability (its “fullness”).
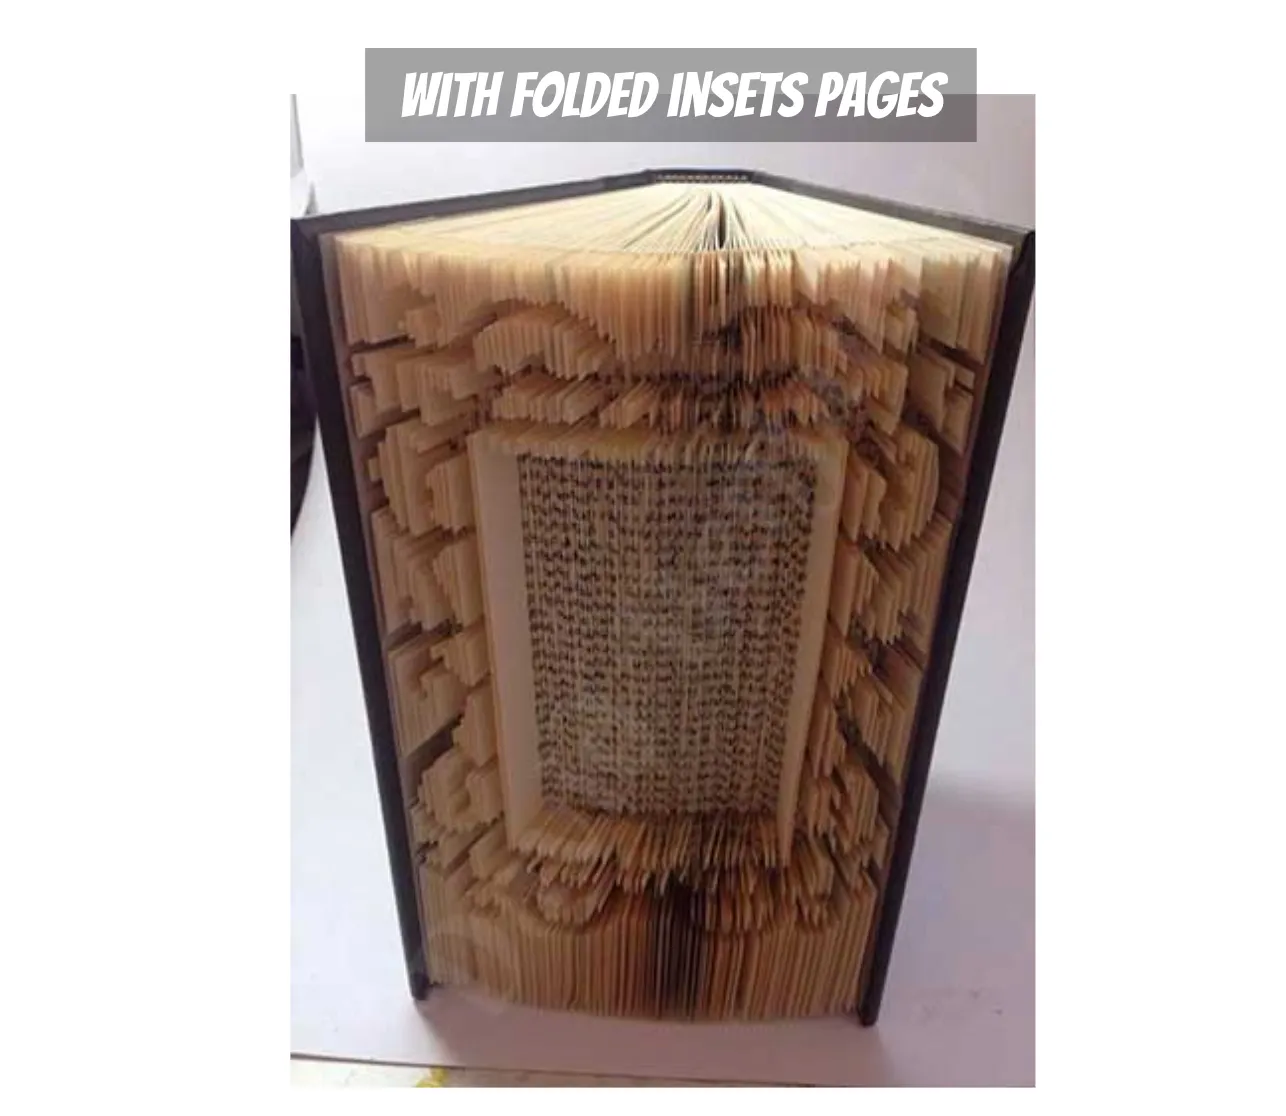
(image source: cutandfoldbookart.com)
The 180-fold
Folded insets and shadow folds have the advantage of creating a fuller, bulkier result. Another way to play on the “volume”, or the width of the result, is known as the “180-degree fold”, or 180 for short.
A 180 consists of folding every page of the book back towards the spine to create a uniform, thick, and sturdy base before doing the pattern. This preparatory step can then be combined with any of the Cut & Fold techniques we discussed (innie, outie, shadow fold, …).
You can see below the book base before a pattern, followed by an embossed 180° Cut & Fold:
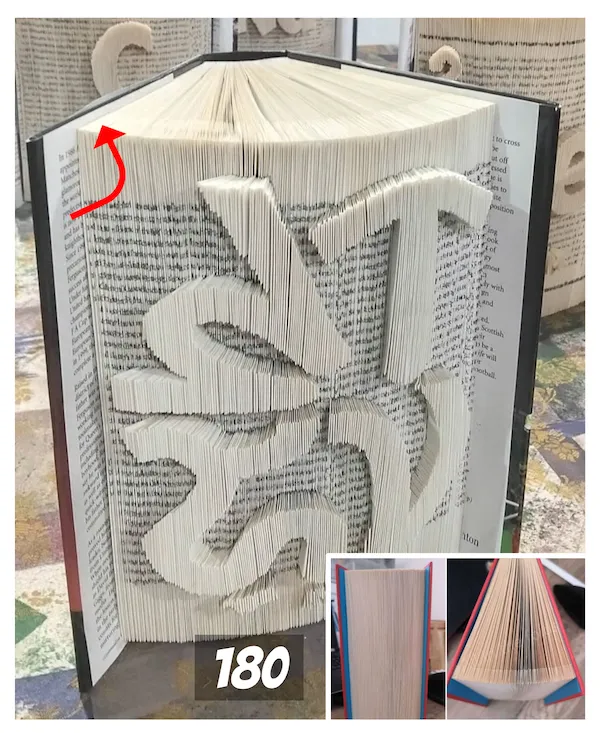
(image sources: www.allinthefolds.co.uk, facebook)
The combi fold
Finally, one of my favorite techniques is the “combi fold”: the combination of regular Book Fold with Cut & Fold. The idea is to use traditional folding for the first and last marks on the page, then cut and fold any remaining marks in between. The results are stunning 😍!
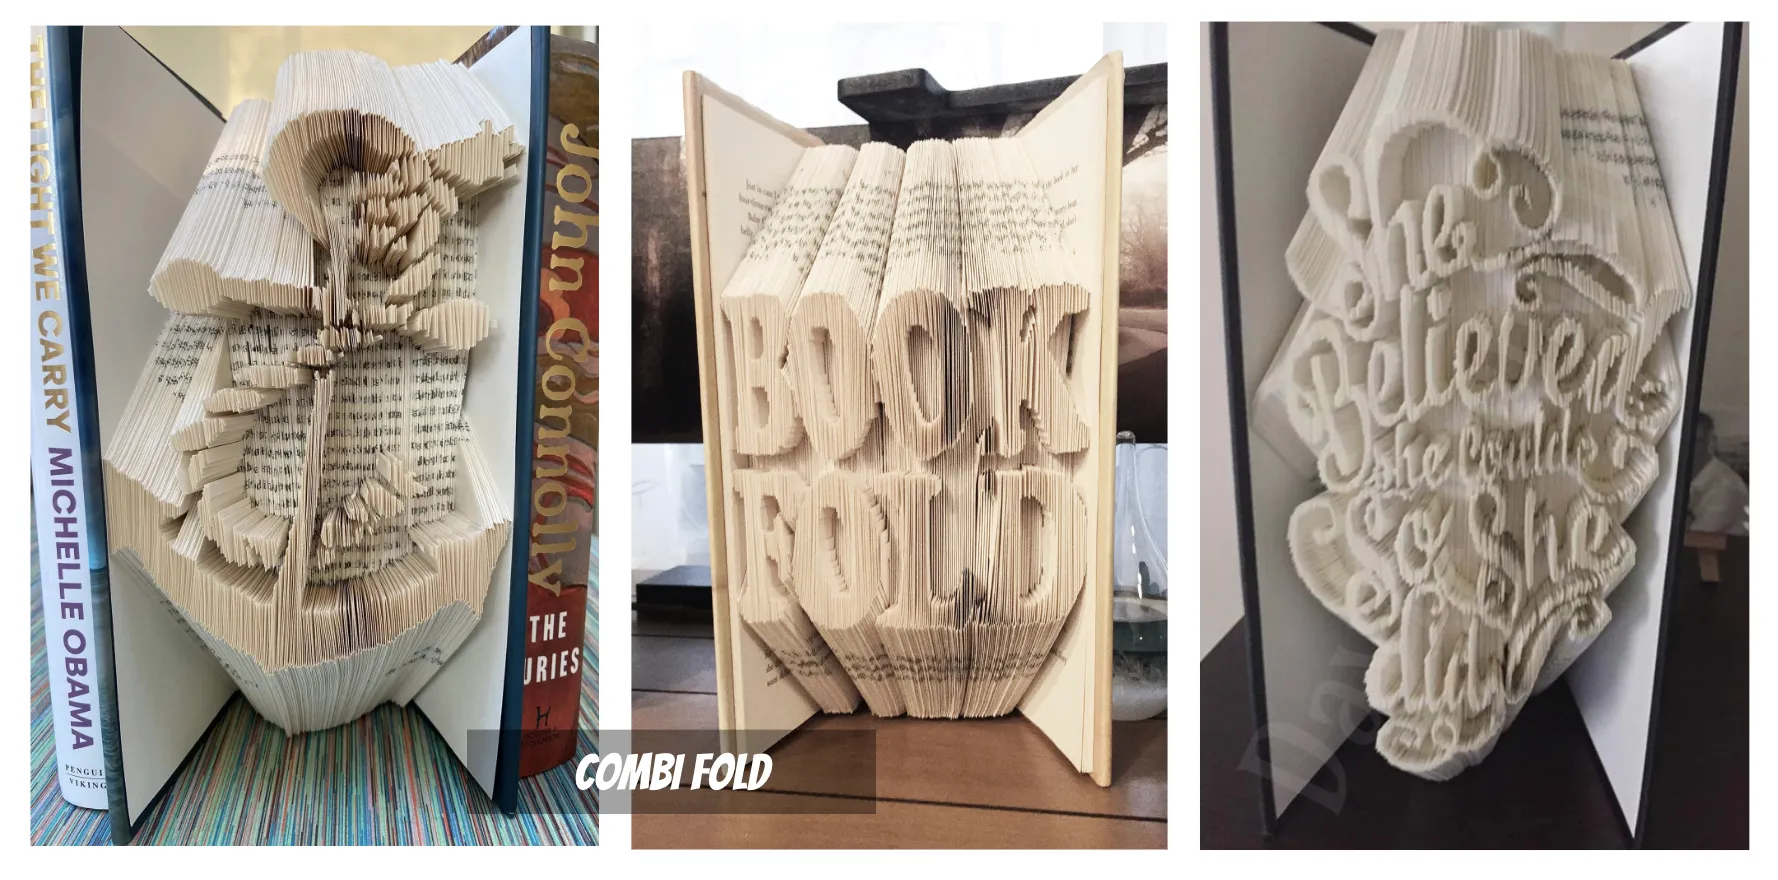
(image sources: facebook, folksy.com, www.cutandfoldbookart.com)
Advanced techniques
I am not that far into book folding yet, but I wanted to mention two advanced techniques that I often encountered, but never tried myself.
Cardstock coloring
This technique adds color(s) to the design by inserting thin strips of colored cardstock into the folds. By “wrapping” the fold around the cardstock, the color becomes the visible edge of that specific segment. This requires planning and patience, but the results are really marvelous.
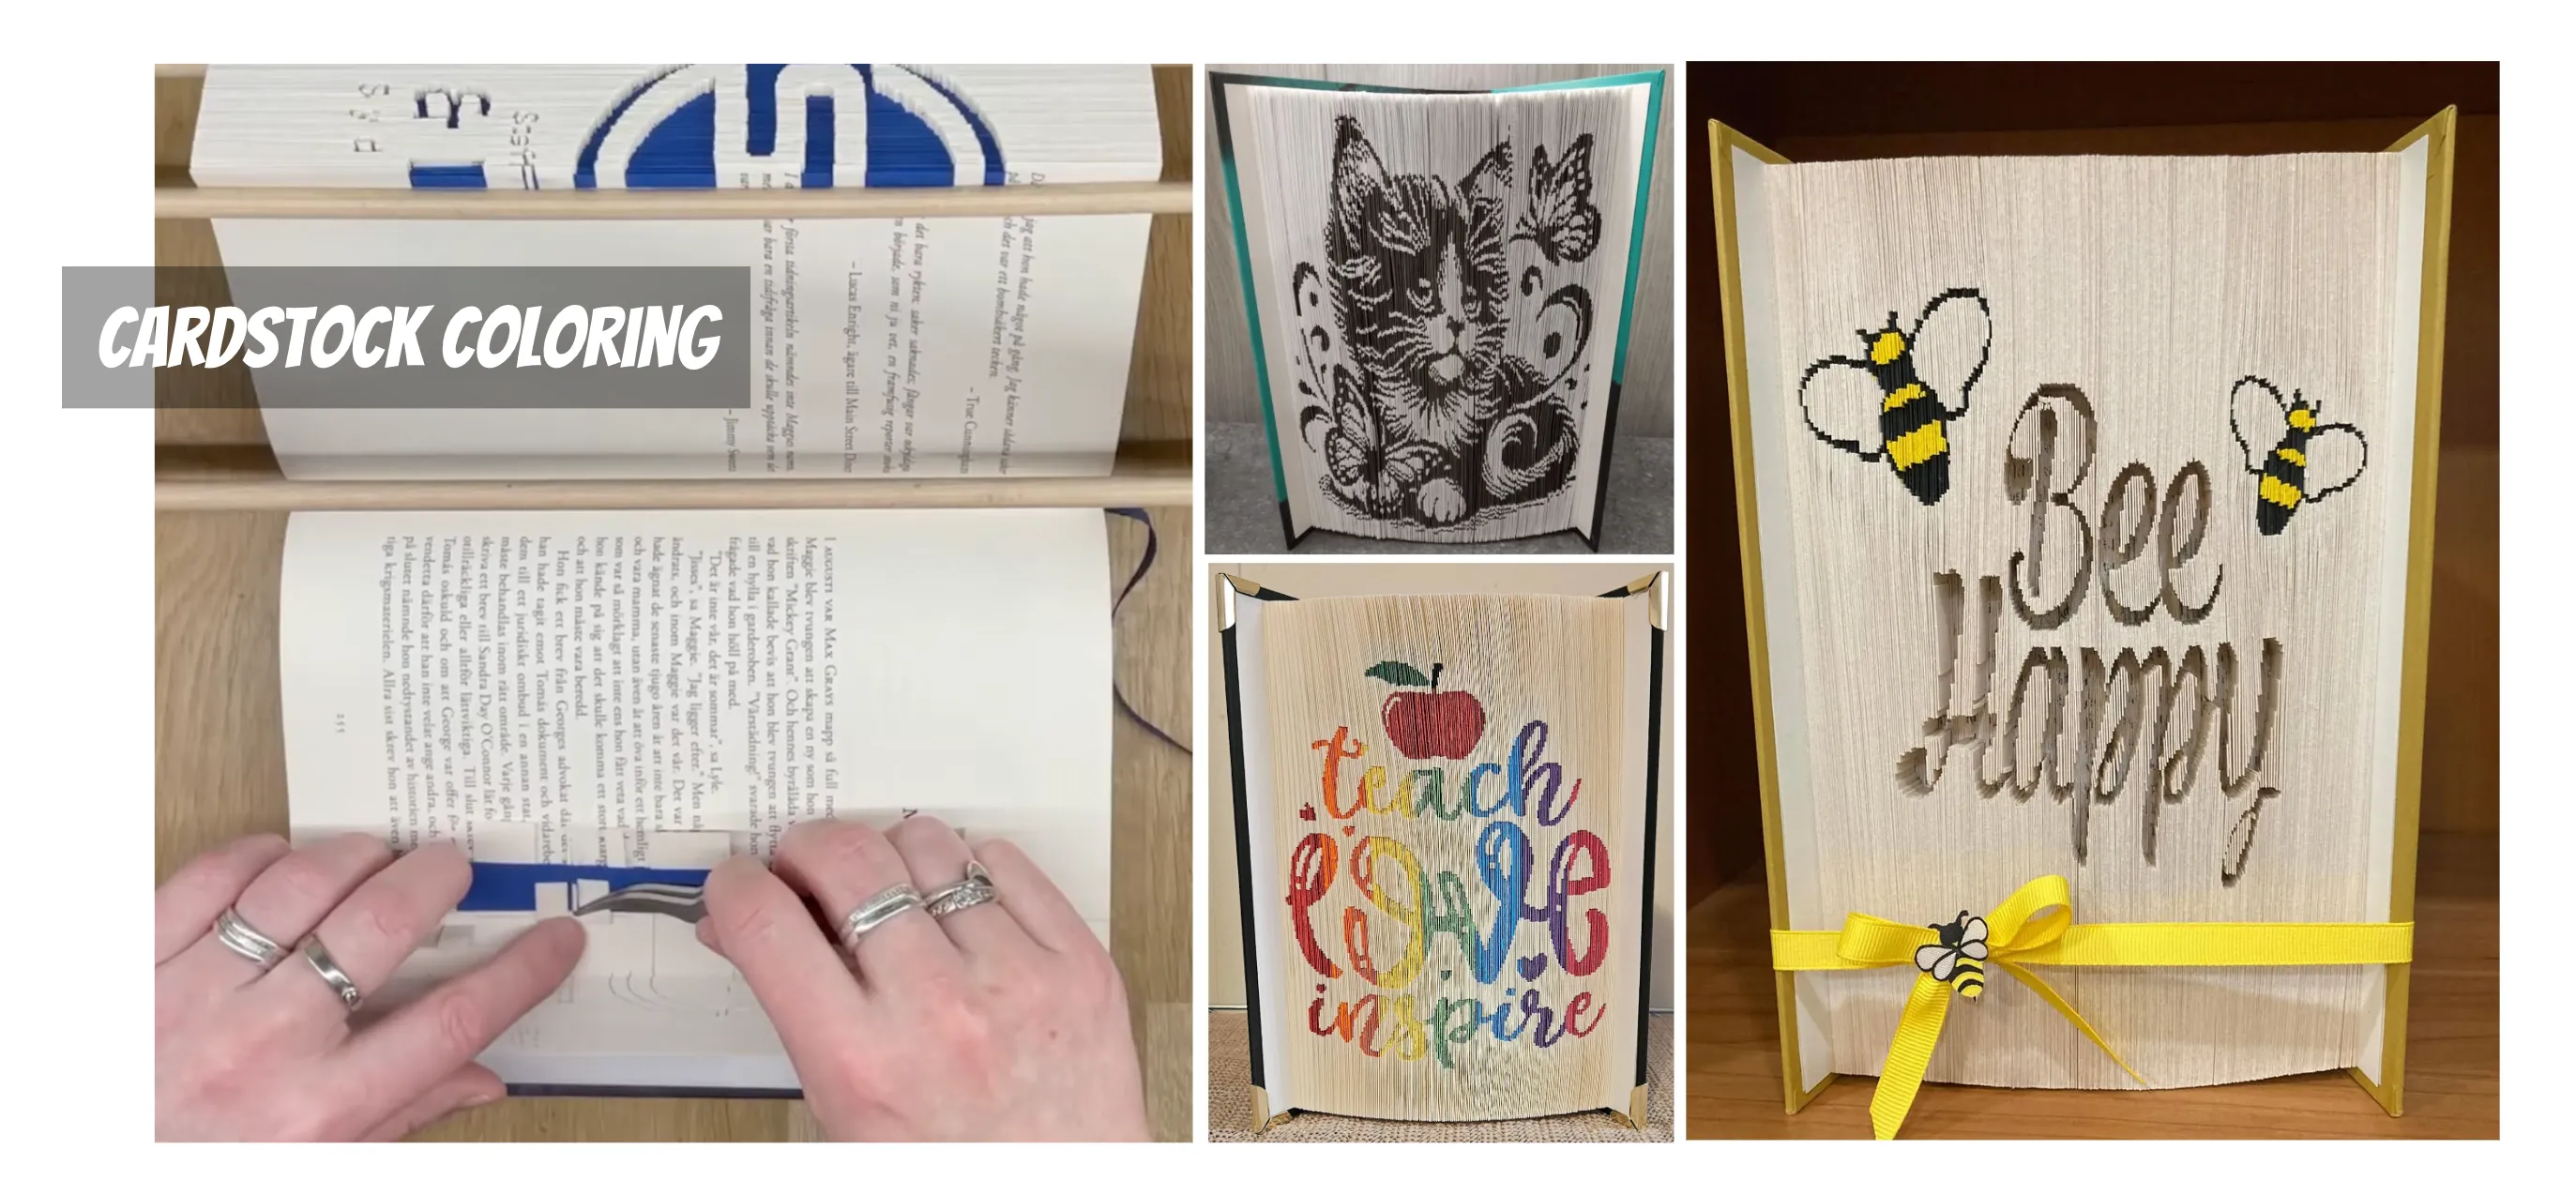
(image sources: YouTube, facebook, facebook, facebook)
Multi-layer Cut & Fold
This is a step up from the standard Cut & Fold. The idea is simple: vary the depths or angles of the folds for different parts of the design to make some pop and others recede, creating a 3D effect.
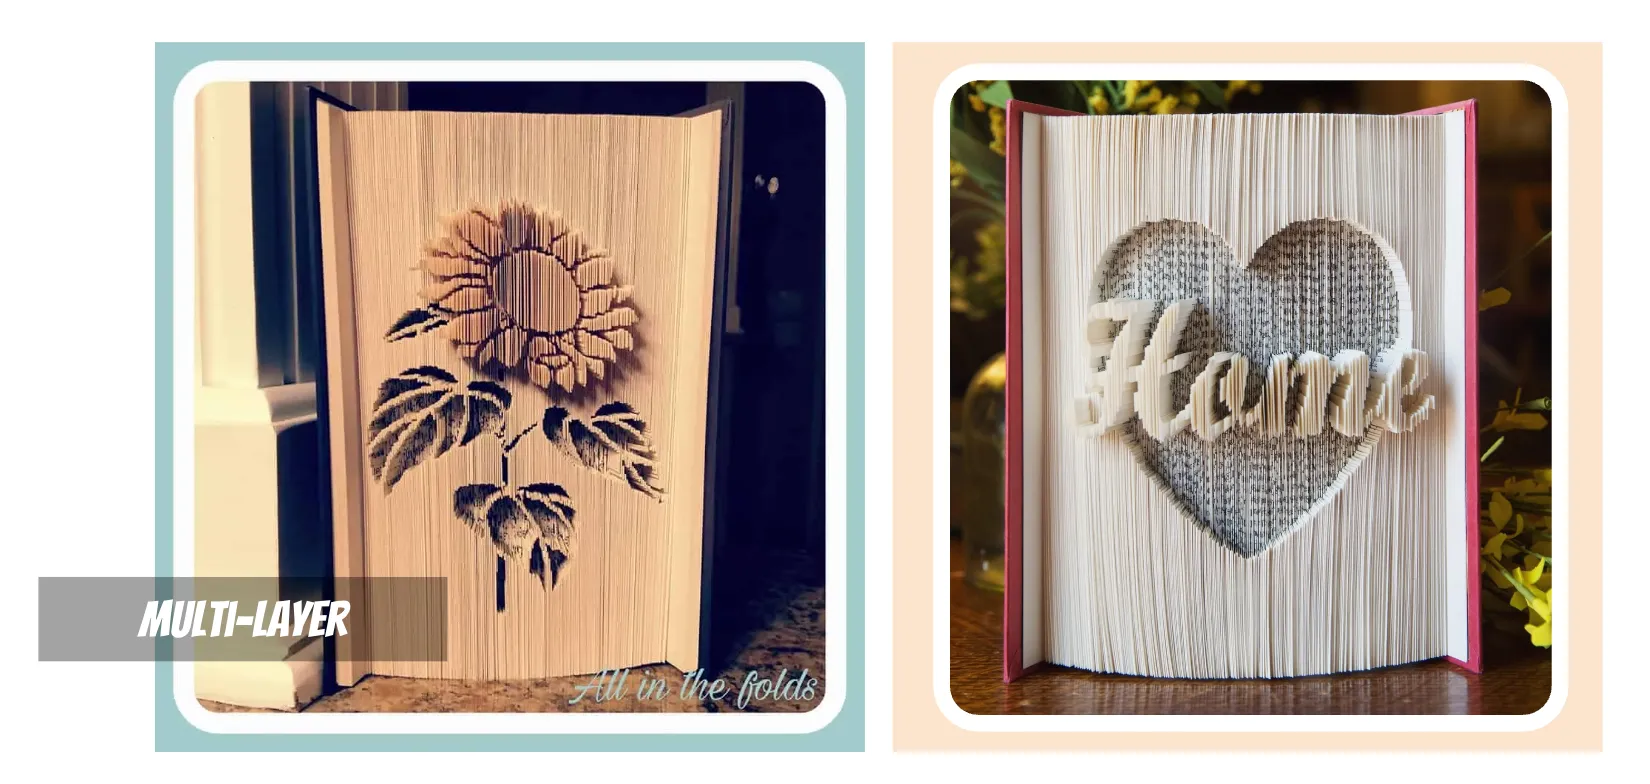
(image sources: www.allinthefolds.co.uk, facebook)
I must admit I really want to try this out, but I haven’t adapted my pattern generator for it yet, and without visual clues on the pattern, the process is tiresome (and error-prone).
Going further
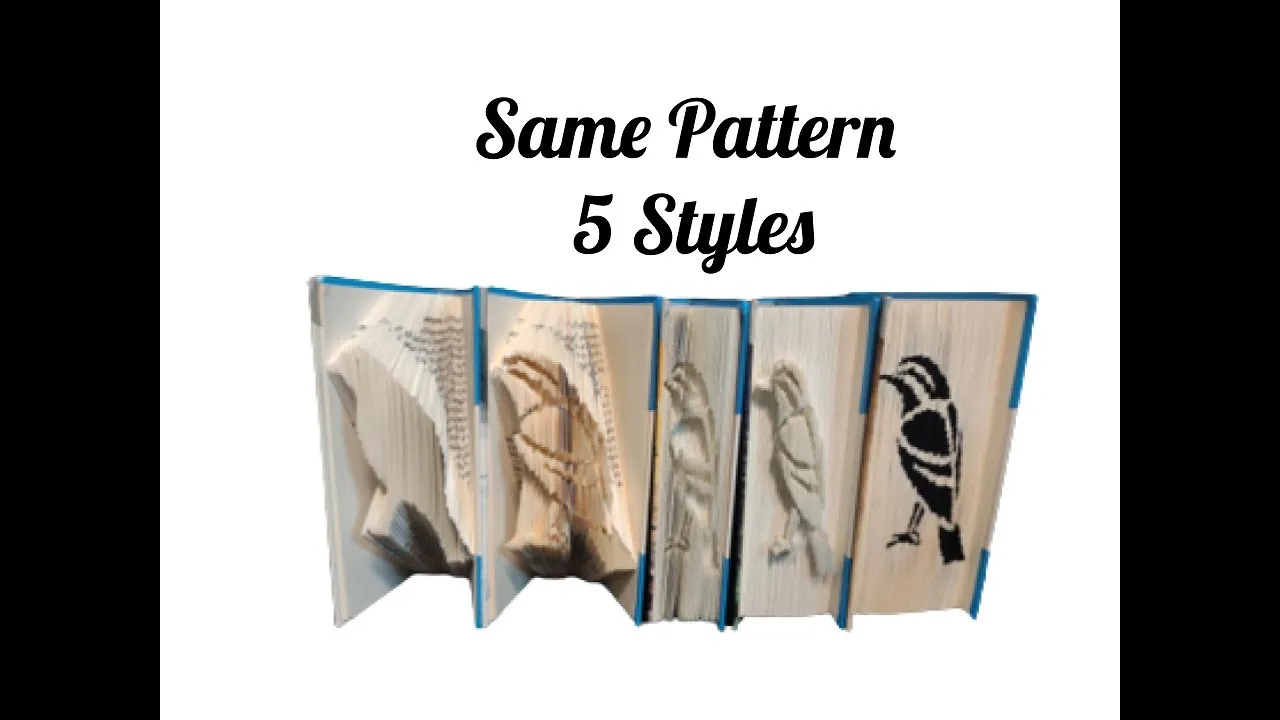
If you are curious or want to know more, use the keywords above in your favorite search engine (or your favorite AI assistant 😉). And for those who are more visual, below is a good YouTube video showing five different styles: book fold, combi, shadow, outie, innie (with chalk for contrast).
Summary
My journey into book folding really took off once I found the line templates technique. It opened up a world of possibilities while still keeping the process fun and “brain-hassle-free”. I started looking around for what was feasible, and was surprised by the variety of techniques, and the ingenuity of the community. They always come up with new, awesome ideas!
While this overview is far from exhaustive (and new, original ways to create book art arise every day), I hope my (teeny-tiny) experience has given you some inspiration. Once you’ve tried one or two of these methods, you’ll find there is nothing difficult. It just requires some patience!
And if you are interested in getting started, check out my other article, Book folding with line templates: a complete guide. It will guide you step-by-step into your first bookfold :).