I have always loved books (e.g. my reading stats online), but I am starting to get space issues in my bookshelves. I thus began recreating books I love in miniature! It took me quite a few tries and multiple tutorials to develop a method that I found both easy and satisfying. Here is my tutorial.
What we are going to make
This is the final result of this tutorial. The book is 31×20 mm.
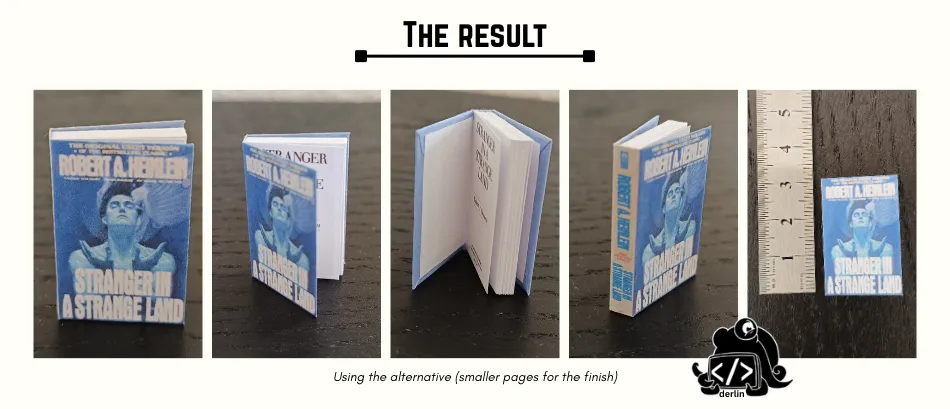
Table of contents:
Material
- scissors + cutter + ruler
- (90 to 100 g/m2 paper for the covers, with good color printing results if you have)
- regular 80 g/m2 paper for the pages → I use regular A4 sheets
- thick paper or thin cardboard → I use blank postcard paper - A6 at 200 g/m2
- “normal” glue → I use rubber cement glue for best results, see Marabu Fixogum
- PVA glue → this is the glue used for book-binding, and it really makes a difference
- a printer + a design software (Canva is free)
1. Design the covers and the first page
👉 ✨✨✨ Design for the tutorial (Canva) ✨✨✨ 👈
I use Canva for designing my covers. You can find many existing Canva mini-covers online. I personally prefer spending time crafting the covers so they are as close to the original as possible (and exactly as I like them to be). For images, Google and booksellers are your friends (especially Amazon and AbeBooks).
I try to find images of the front, back, and spine of the original. The latter makes it more realistic and gives a good idea of the dimensions: I want the width of the book to match the real one.
To simplify the folding, I put a backdrop of a slightly different color. Avoid colors too close to the design, or you won’t distinguish the border of the book after printing! I also draw lines behind the design, which helps me fold the spine in the right place.
The dimensions themselves are not that important, as long as the back and front are the same. I usually go with a height between 30-33 mm, and a width between 20-22 mm. 30×20 mm is a good start. But smaller books are awesome too!
To spare paper, I cram as many covers as possible on one sheet, and I always write the dimensions in a comment above the covers.
For the first page of the book, I try to find a nice symbol - or the actual first page of the book if I find it. I add gray dotted borders to help with the cutting. Remember to put the first pages on another sheet if you use different paper for covers and pages!
2. Create the cover
After printing the covers, cut each rectangle and start folding. Using a ruler to fold the cover can help make it straight! Just put the ruler at the back of the cover, use a light to see through, and once the ruler is properly positioned, fold the paper to leave a mark. Remove the ruler and finish the fold.
Once everything is folded, remove small triangles of paper with the cutter.
Take your thick paper and cut rectangles the dimensions of the front cover minus 1-2 mm. Only strengthen the front and back (you can leave the spine untouched). Glue the thick paper to the cover and fold+glue the cover around.
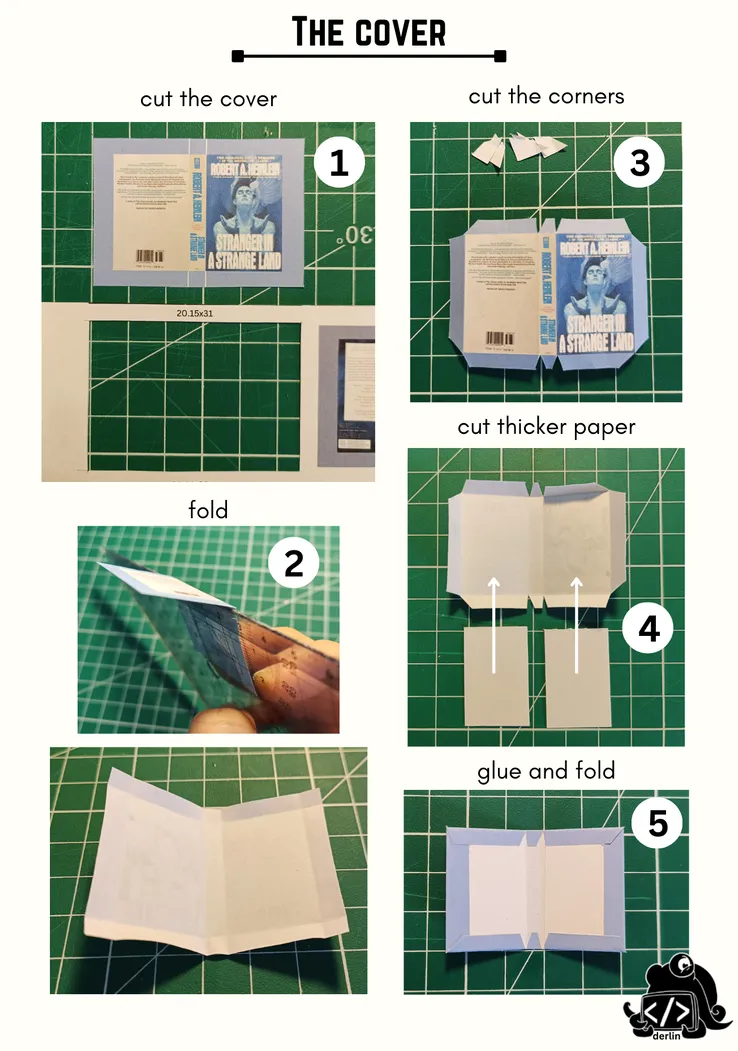
You now have a mini-book cover!
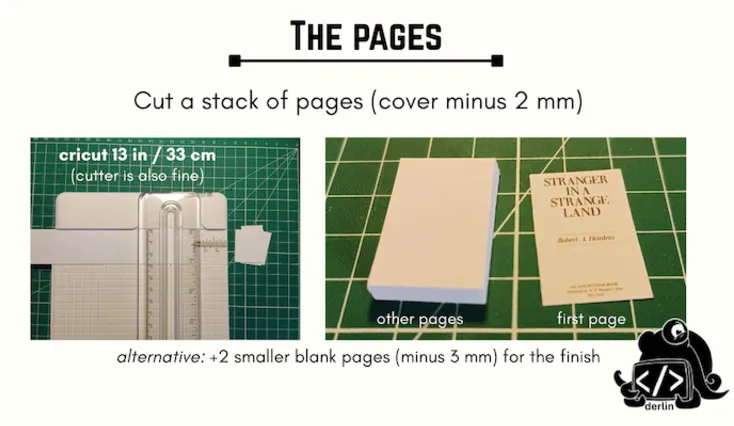
3. Cut the pages
Now, you have to cut paper. Lots of it! Depending on what you have at home, you may design a different strategy, but I happen to have a Cricut (20$). My process is:
-
Stack two sheets of A4 paper (3 may be too many, as the Cricut will leave marks).
-
Cut them in vertical slices the height of the book minus 2 mm.
-
Take each slice, and cut them the dimension of the width of the book minus 1 mm.
-
Stack the results until you have the thickness of the book.
Cut the first page with a cutter to match the dimensions of the other blank pages.
Note that I used to do the same with a cutter. With a cutter, stacking two sheets doesn’t work well, the process is slow, and the result is less precise (I tried stacking all the pages and cutting them all at once, but it miserably failed). The Cricut process is still slow, but it is the one yielding the best results.
4. Assemble your book
Take your stack of pages (with the first page at the top) and add PVA glue to the spine. Position it on your flat cover, and let it dry (keep the pages vertical, don’t touch them!).
Wait at least 30 minutes (the longer the better), and once dry, carefully fold your book and put it under a heavy book (or any kind of pressing device) so it takes its final form. I use simple paper clips. If possible, apply pressure only to the exterior to avoid the spine from creasing under pressure (it is the only part that is not reinforced). Leave it as is for a while.

That’s it! You have your minibook :).
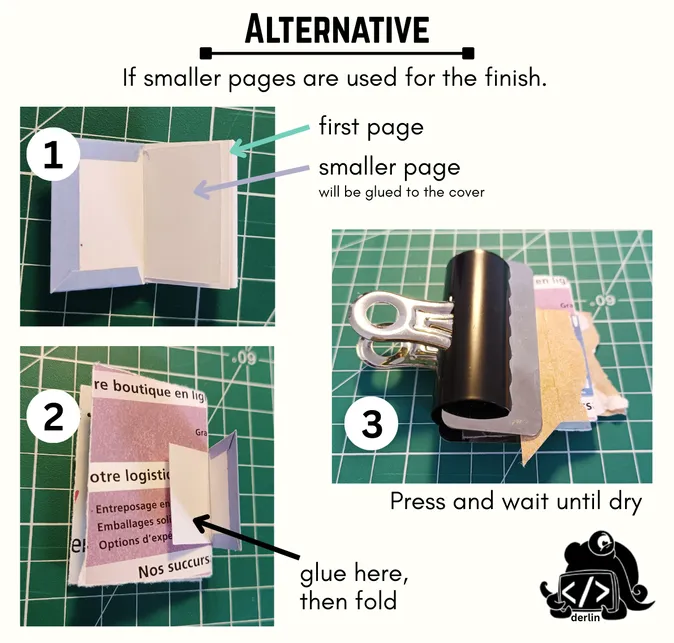
Alternative: use smaller pages for a professional finish
If you do not like the “school book” vibe, it is possible to use smaller first and last pages that are then glued to the cover to make the book appear more professional. If going in this direction:
-
Your printed front page becomes the second page
-
The smaller pages need to be centered vertically, but must horizontally adhere to the spine of the book
The assembly process is the same. Once the spine is dry, and before folding the book, insert magazine paper (or any other material with a glossy finish) between the first and second pages. Apply glue to the first page, and fold the cover. Repeat for the last page. For best results, use the rubber cement glue!
Finally, press the book for a while, and then carefully remove the glossy paper and excess glue.
Going further
Now that you know how to create a miniature book, it is time to let your imagination flourish.
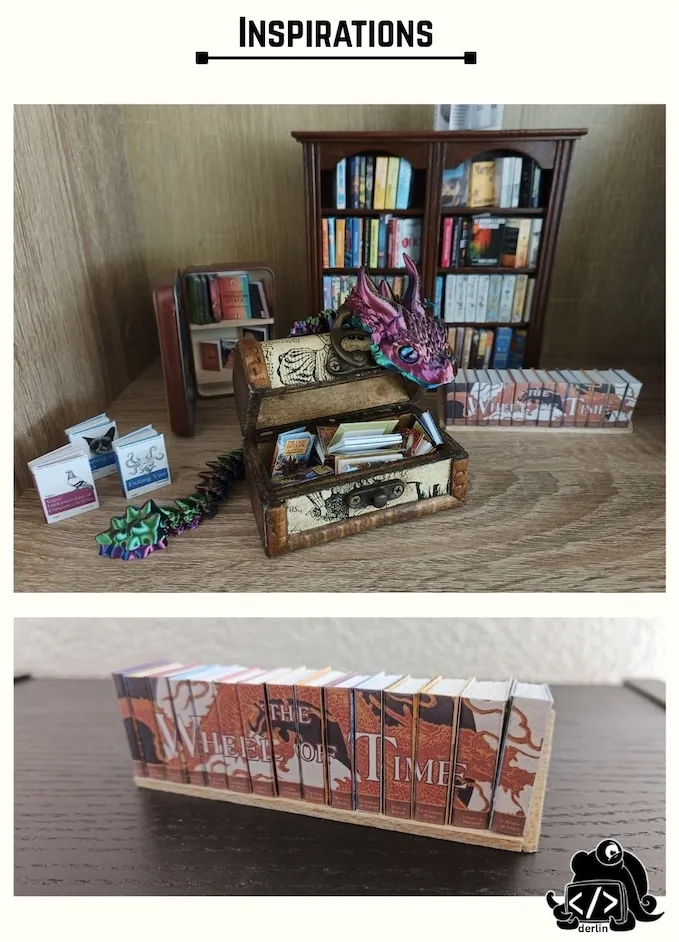
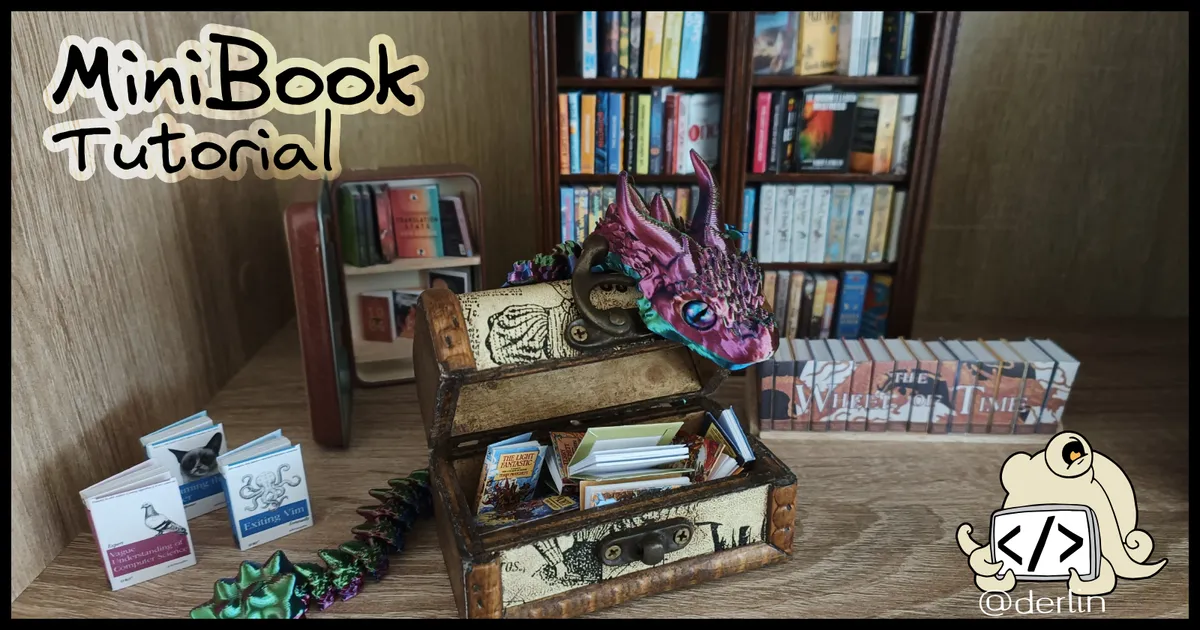
Here are some of my latest designs (chest and bookshelf bought, the rest are handmade):